GBA Tutorial
gba-toolchain
This setup tutorial will cover compiling a GBA ROM with the gba-toolchain. What is the gba-toolchain? Well, it’s a CMake-based toolchain written by yours truly.
You can download the repository from github.com/felixjones/gba-toolchain, or you can just download the toolchain script from github.com/felixjones/gba-toolchain/3.0/arm-gba-toolchain.cmake.
Extract the repo (or save the script) to a location that you can easily reference later.
On Windows a handy location could be your user directory at %userprofile%. On Linux or Mac, perhaps your home directory.
CMake
CMake has a pretty handy mechanism for cross-compiling called “CMake toolchains”. gba-toolchain is a CMake toolchain, but one that sets up everything you need for GBA development, including tools and libraries.
gba-toolchain requires CMake 3.18, so go ahead and download CMake if you’re following along.
Ninja (Windows)
Ninja is an alternative to the classic Make build system. We will use this as our CMake generator target on Windows.
Download the latest build of Ninja for win from github.com/ninja-build/ninja/releases and extract it to a sensible location that we’ll add as a PATH variable. I recommend making a folder called “ninja” in your homepath %HOMEPATH%, so the ninja.exe file should be located at %HOMEPATH%\ninja\ninja.exe.
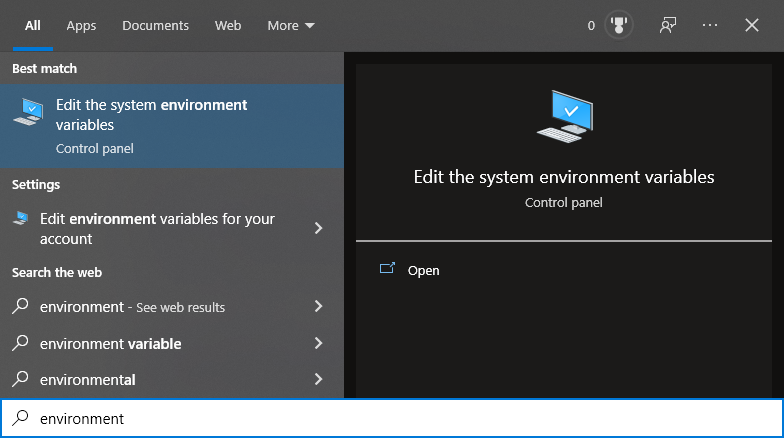
To add a Windows path variable open the “Edit the system environment variables” shortcut from the start menu:
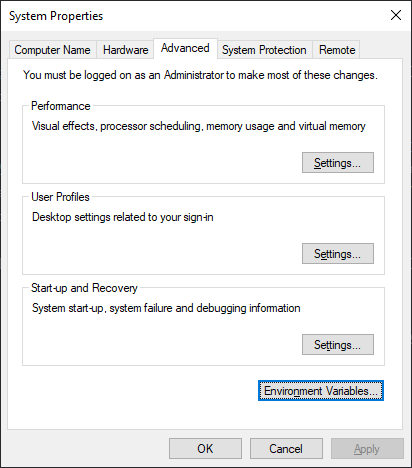
Then click the Environment Variables... button:
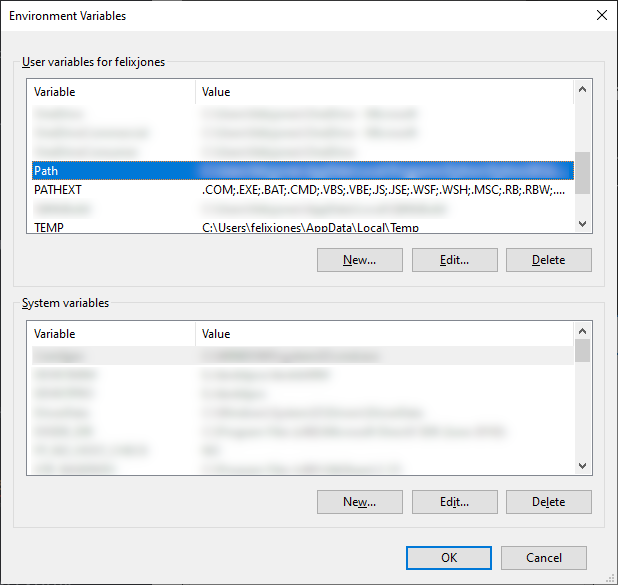
In the User variables at the top select Path then click Edit:
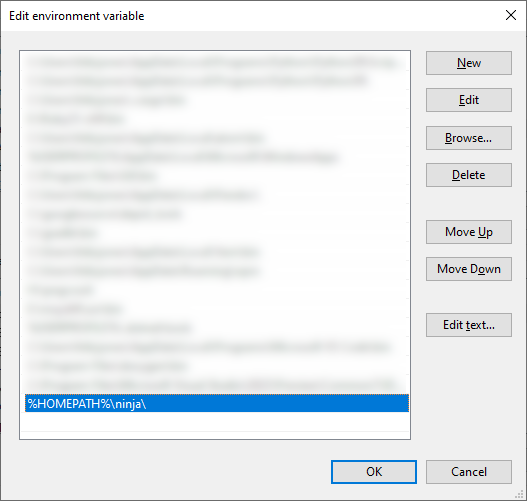
Then from here, click the New button to create a new field. If you copied Ninja to %HOMEPATH%\ninja\ninja.exe then you can type “%HOMEPATH%\ninja\” in the text entry and hit ok, otherwise you can click Browse and locate the directory manually.
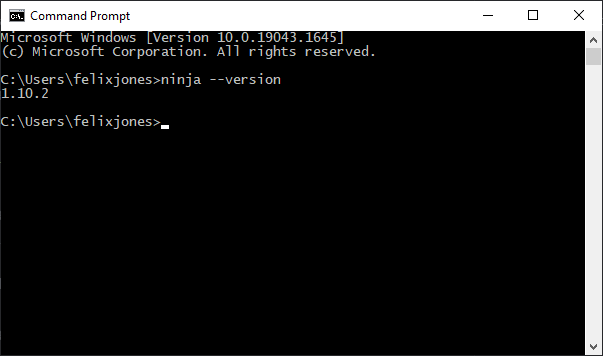
To test that Ninja is working open Command Prompt and type ninja --version
Visual Studio Code
Modern IDEs tend to have good support for CMake based projects. VSCode is one of them (via the CMake plugin). Like CMake, it’s cross-platform.
Download VSCode here. Oh and important note: VSCode is not Visual Studio. Cross-compiled CMake projects can work with Visual Studio, but it’s both Windows-only and isn’t a common use case of Visual Studio (so its support can be buggy).
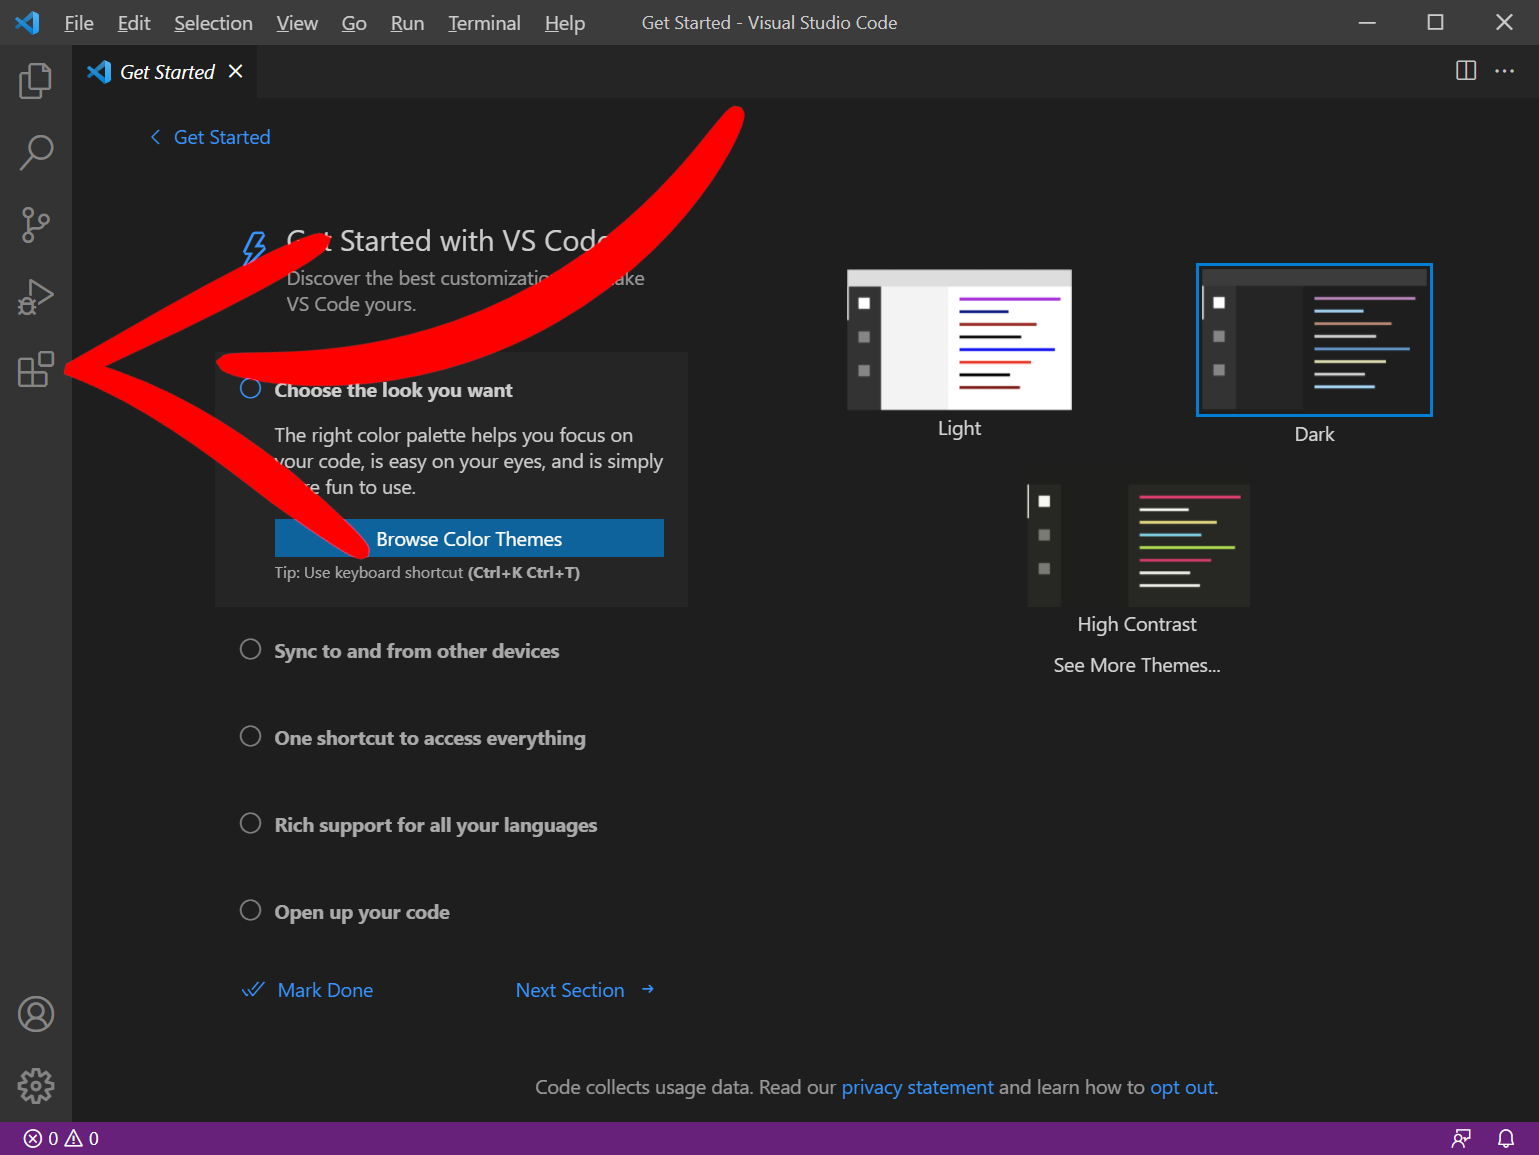
Once you’ve got VSCode installed, click the extensions button so we can download everything needed for C/C++ devel opment.
C/C++ Development Extension
This is a Microsoft extension for VSCode that adds language support for C/C++ to VSCode, including debugging!
This also comes with CMake support (handy!).
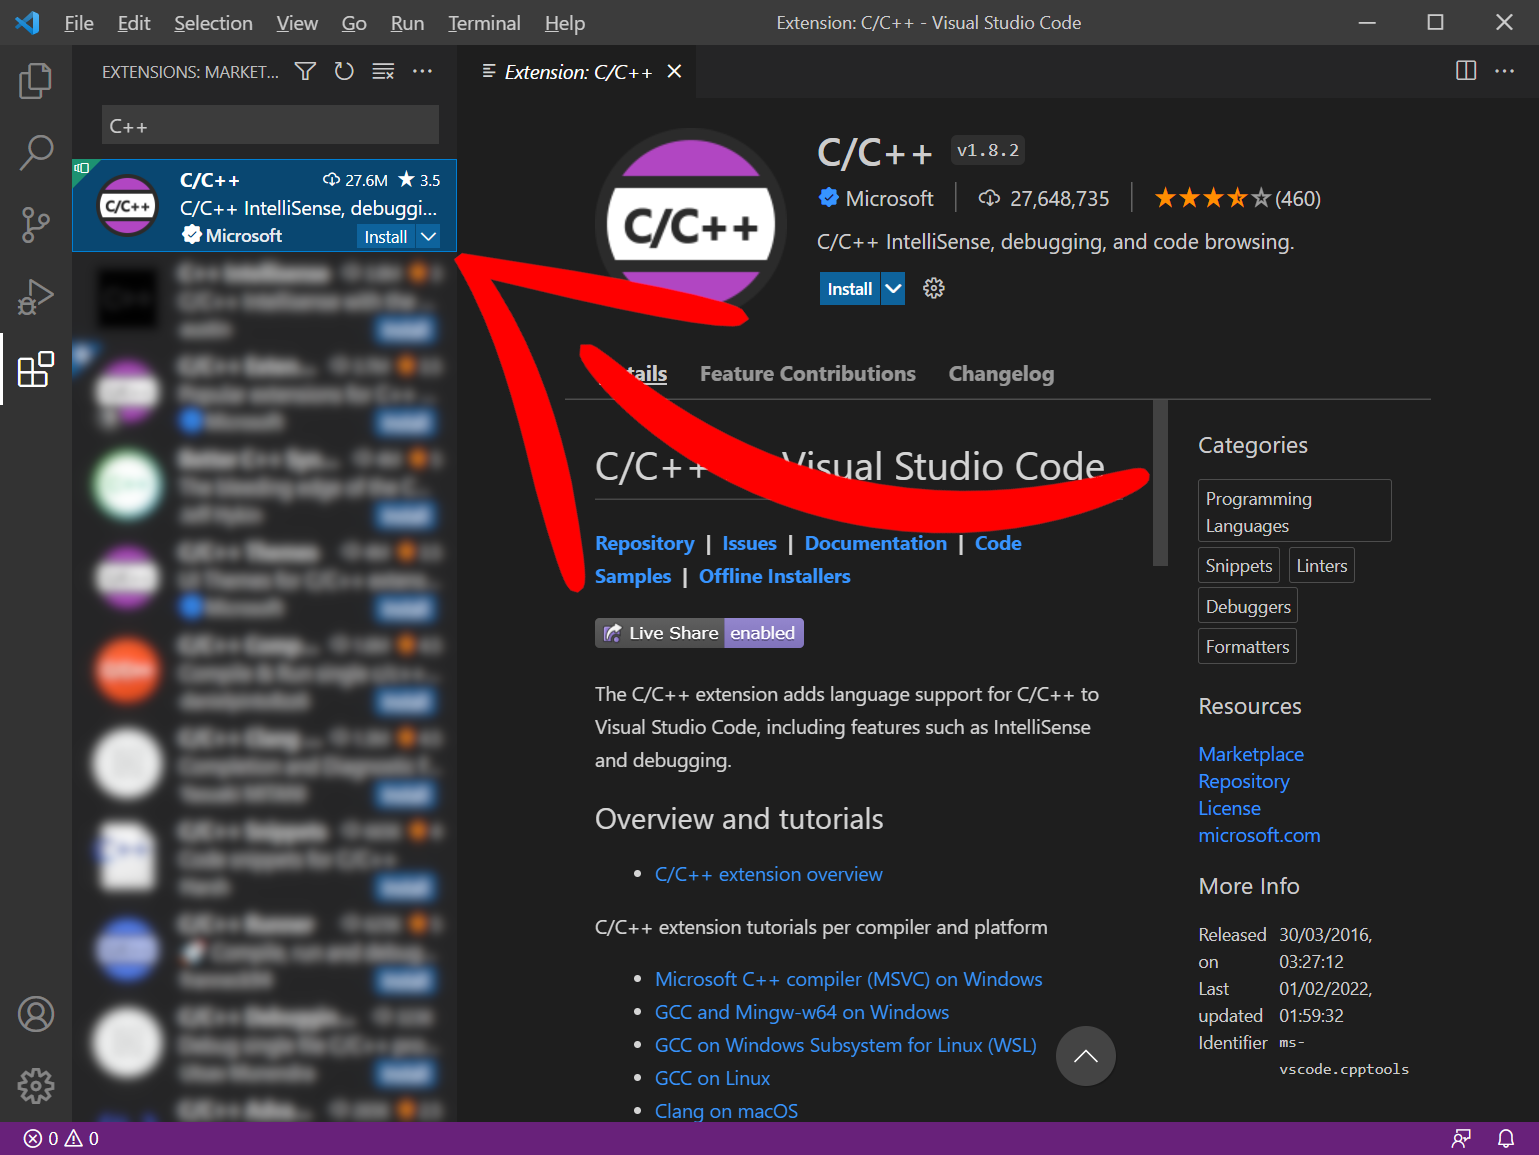
Searching “C++” in the extensions window should get you to the Microsoft C/C++ extension.
Click Install.
Creating a GBA project
Make a project folder somewhere (can be anywhere) and give it a name like My GBA Project or something of that sort. I put my project folder on my Desktop.
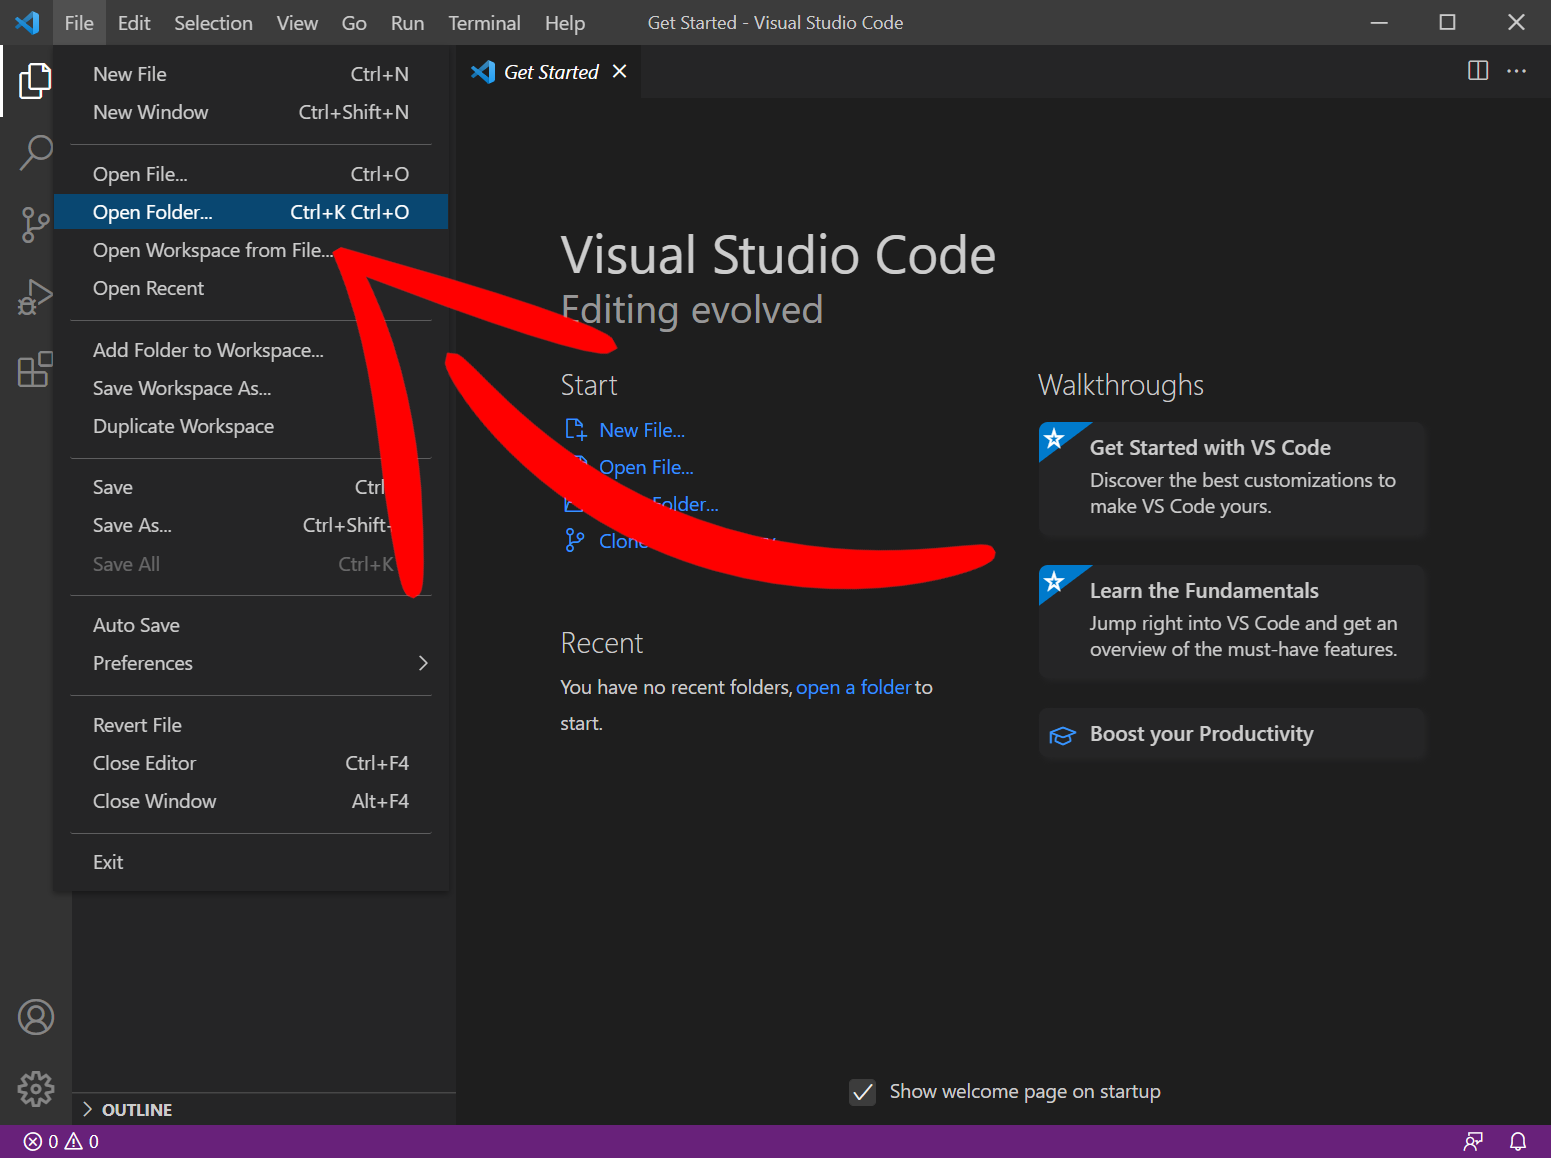
Back in VSCode, go to File -> Open Folder… and find your project folder.
Creating a source file
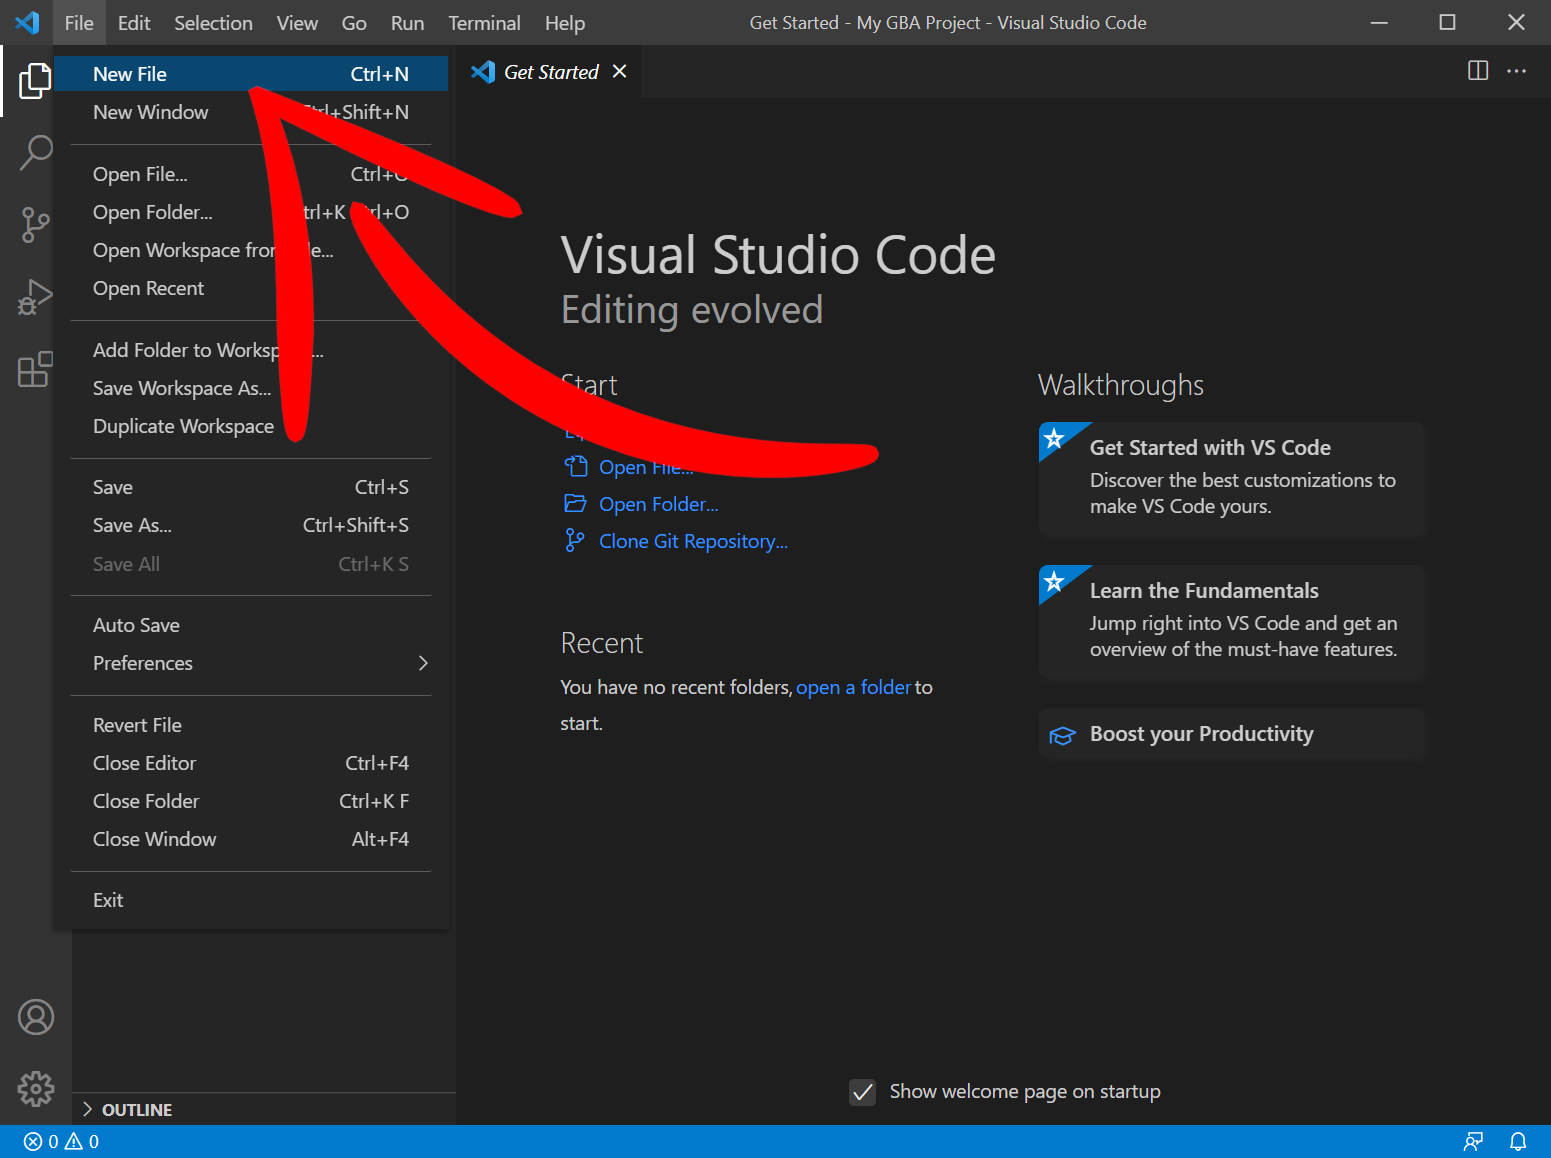
We’ll start by making a C program. Create a new file in our project and name it main.c.
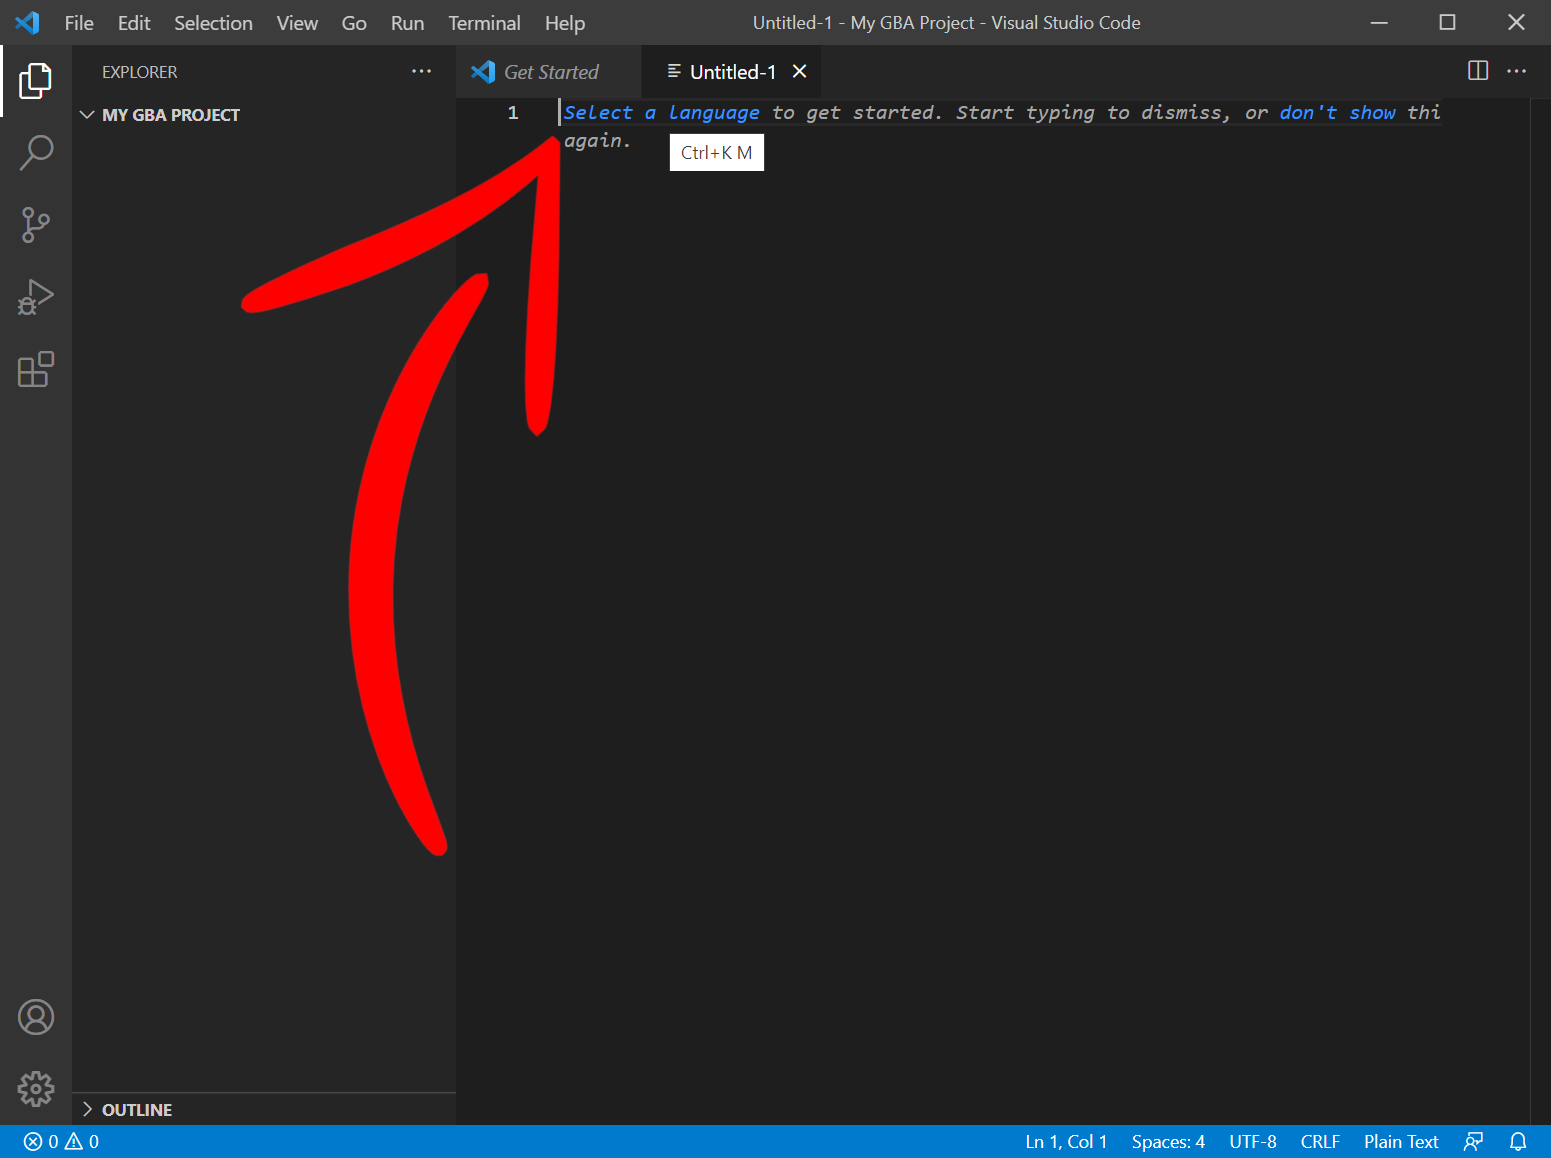
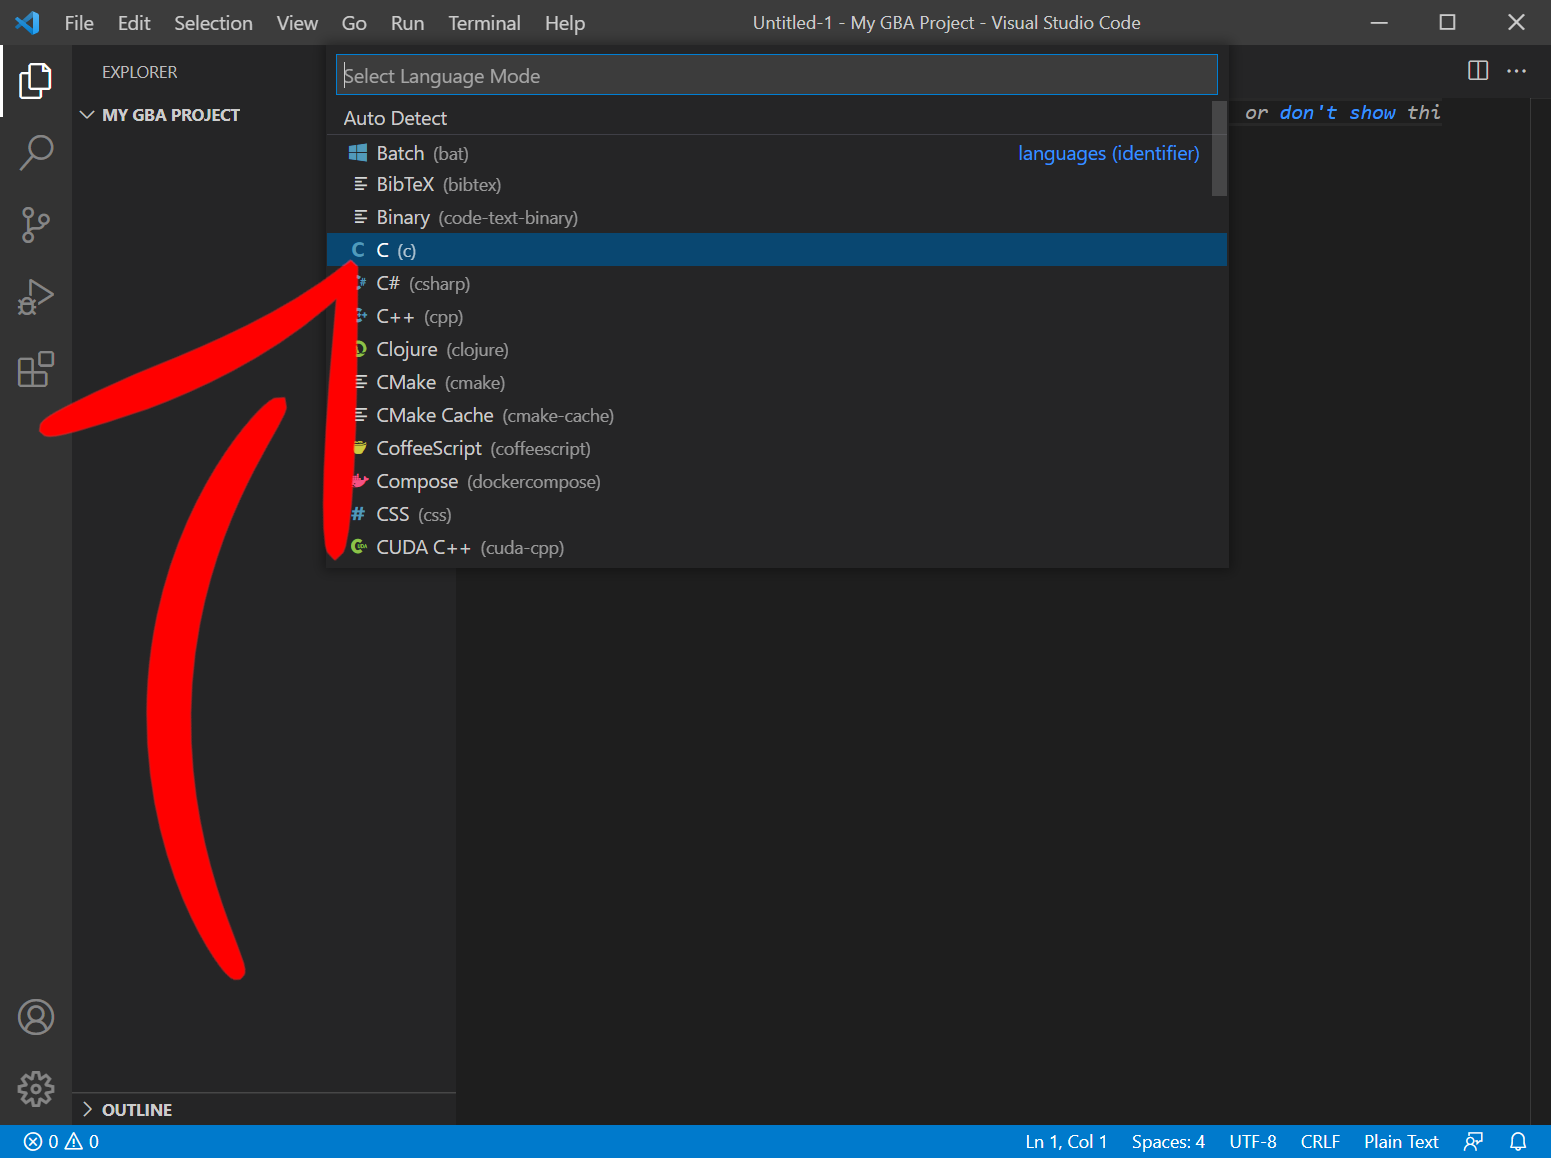
With an empty file, VSCode usually asks you to select a language. If it does, go ahead and select C, as we’ll be starting off with a C language project.
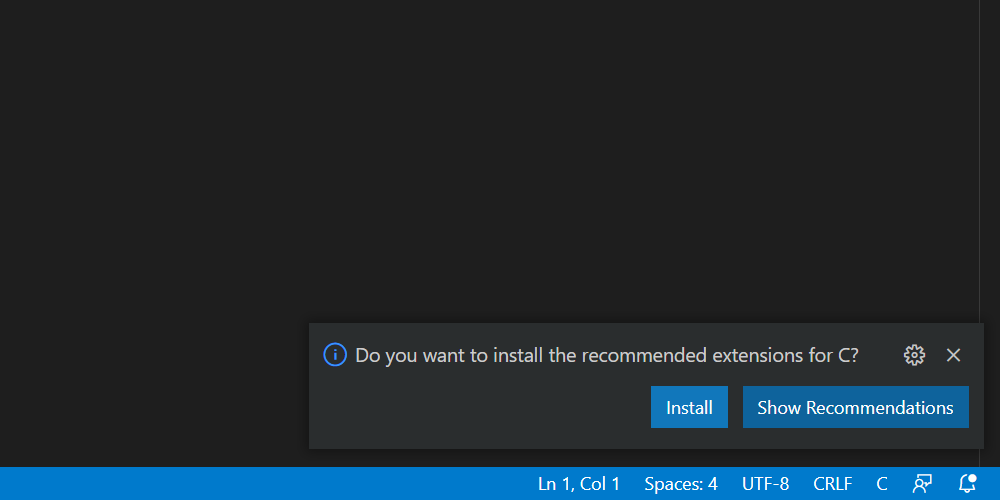
VSCode may recommend some extensions for a better C development experience. Feel free to install those.
Let’s paste in a classic demo from the original Tonc1 tutorial.
// First demo. You are not expected to understand it
// (don't spend too much time trying and read on).
// But if you do understand (as a newbie): wow!

int main()
{
    *(unsigned int*)0x04000000 = 0x0403;

    ((unsigned short*)0x06000000)[120+80*240] = 0x001F;
    ((unsigned short*)0x06000000)[136+80*240] = 0x03E0;
    ((unsigned short*)0x06000000)[120+96*240] = 0x7C00;

    while(1);

    return 0;
}
And save this file as main.c.
Defining the project
Create a new file next to main.c and call it CMakeLists.txt. You can consider this our “project” file.
gba-toolchain requires CMake 3.18, so we start off by declaring this at the top of the CMakeLists.txt
cmake_minimum_required(VERSION 3.18)
We then give our project a name, and declare the programming language it will use, which is C. I named my project “My GBA Project”.
project("My GBA Project" C)
We’ll add an executable to this project, we’ll call it “gba-game” for now. We’ll also be compiling this into a .ELF file at first, so we’ll add “.elf” as a suffix on “my_executable”.
add_executable(gba-game main.c)
set_target_properties(gba-game PROPERTIES SUFFIX ".elf")
That should be enough to get things going for now. The complete CMakeLists.txt should look like:
cmake_minimum_required(VERSION 3.18)

project("My GBA Project" C)

add_executable(gba-game main.c)
set_target_properties(gba-game PROPERTIES SUFFIX ".elf")
Compiling the project
We need to tell both VSCode and CMake about gba-toolchain, otherwise it won’t know about the compilers or tools we want to use.
To do so, we need to create a “kit”, which is what VSCode uses to define CMake toolchains.
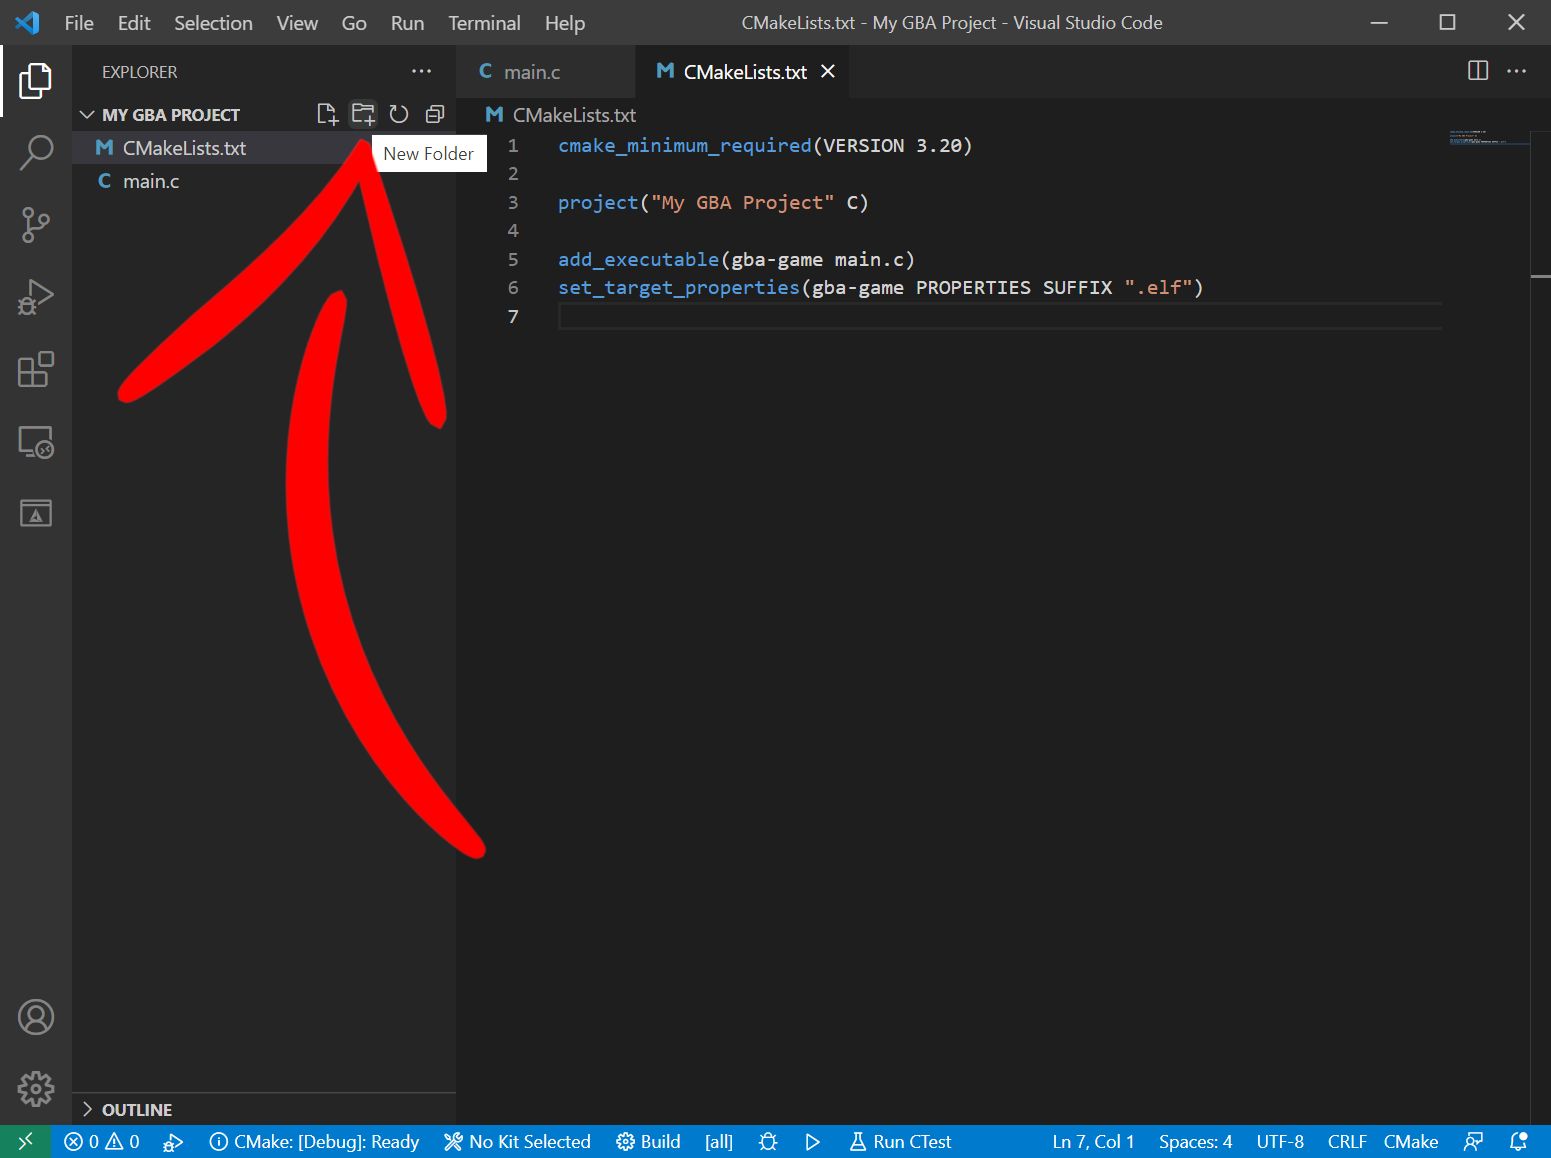
We need to create a configuration folder for VSCode. Click the New Folder button and name this folder “.vscode”
Once we have our VSCode configuration folder, add a new file to it called “cmake-kits.json”.
We will define our CMake toolchain in cmake-kits.json. Give it a name, I called mine “ARM GBA Toolchain”, and also add a field for the CMake toolchain file.
[
    {
        "name": "ARM GBA Toolchain",
        "toolchainFile": ""
    }
]
Now, remember where you put the gba-toolchain when you downloaded it at the start? You should have in there a CMake toolchain file called “arm-gba-toolchain.cmake”. Copy the path to this file, including the arm-gba-toolchain.cmake, and paste it into the toolchainFile field in the cmake-kits.json.
My toolchain is in my C: drive, so my kit looks like this:
[
    {
        "name": "ARM GBA Toolchain",
        "toolchainFile": "C:\\gba-toolchain\\arm-gba-toolchain.cmake"
    }
]
Remember on Windows to escape the backslashes by typing two of them! \\
We’ve changed a fair bit about this project, so to wake VSCode up to our changes close and reopen VSCode.
I’ll wait here whilst you do that. Done it? Cool.
Now when you reopen the project folder VSCode will probably ask you if you want to configure it.
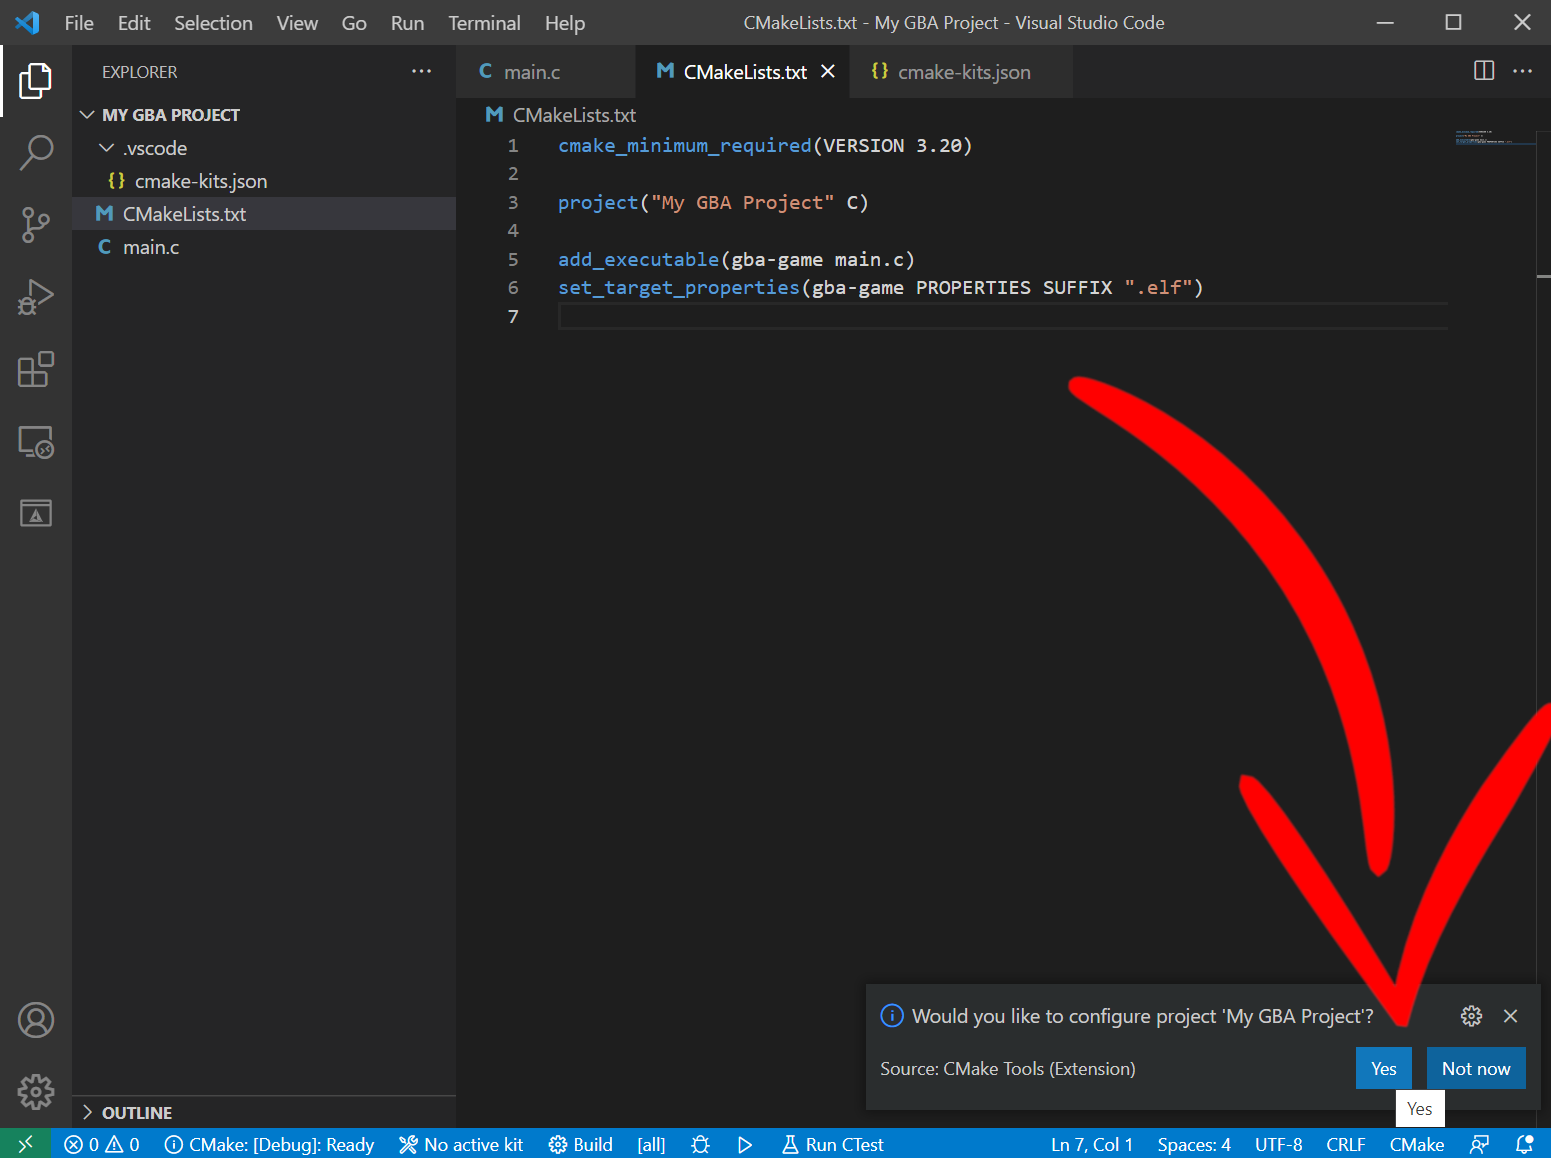
Click Yes to this and VSCode should now display some output whilst it configures.
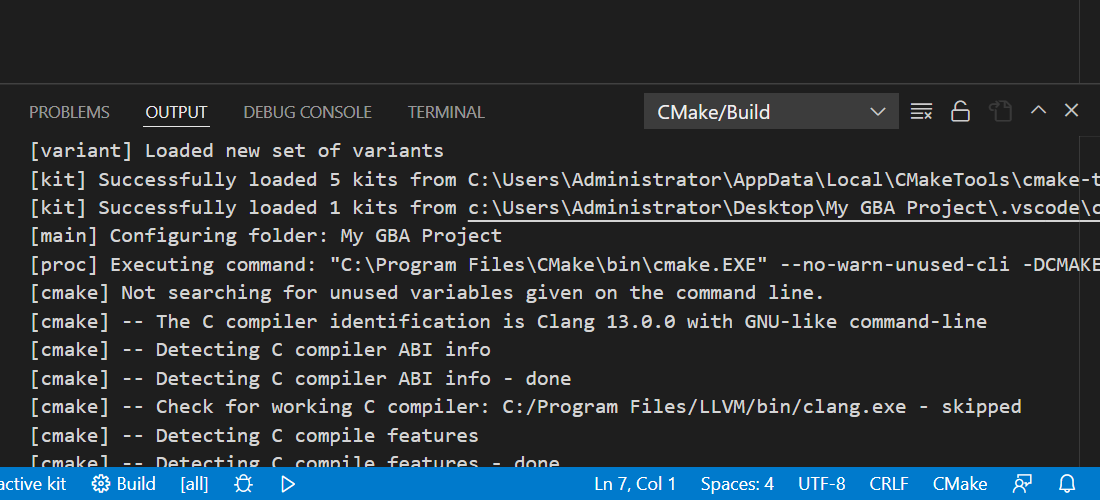
If you look at the output, you should see that it detects our kit with [kit] Successfully loaded 1 kits from blah blah blah
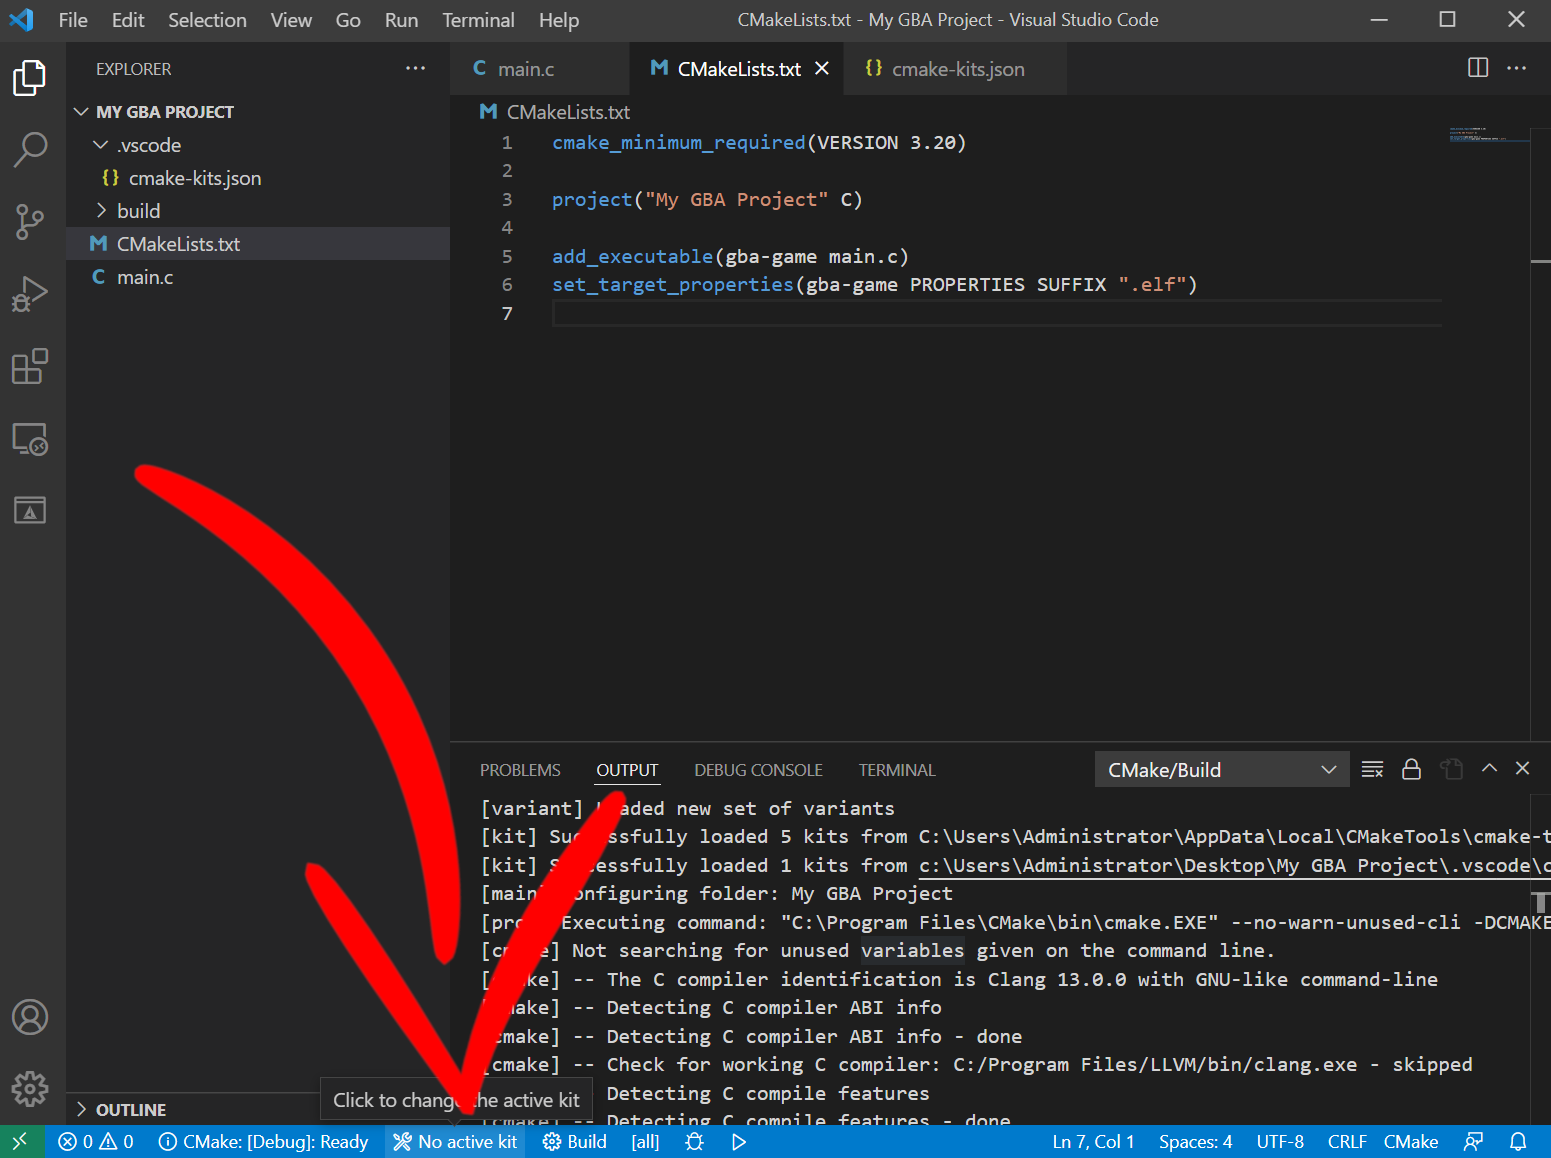
We can now select our kit and compile our GBA program!
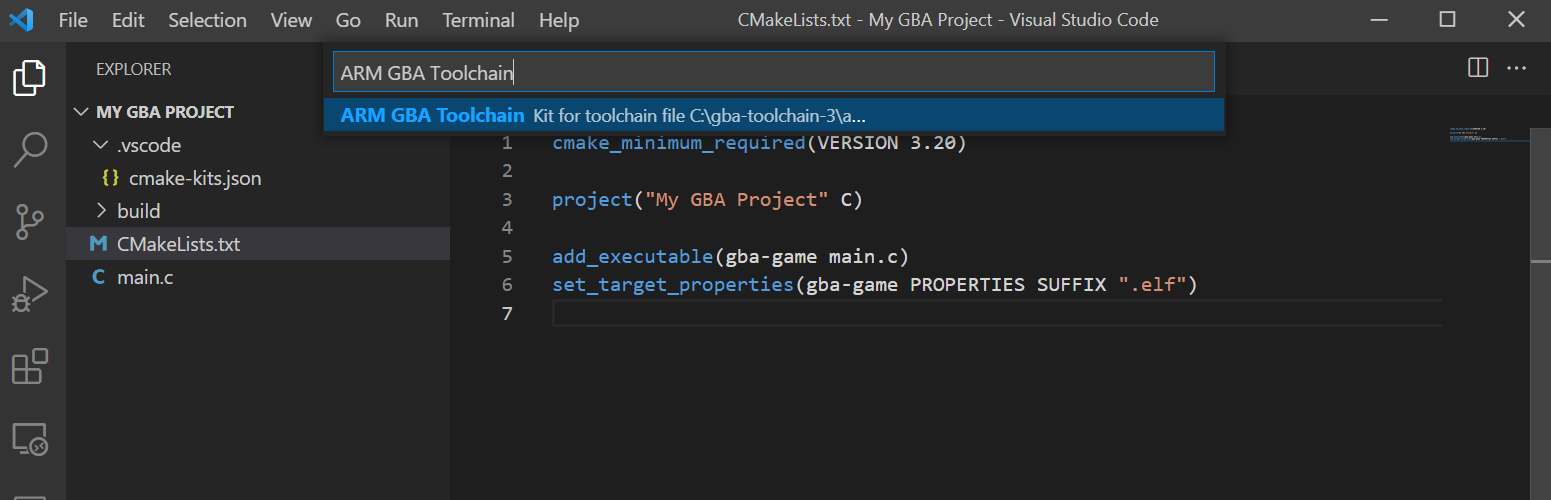
Click the little “No active kit” button at the bottom of VSCode.
And this will display a toolkit search area, where you can type in the name you gave your toolkit (so for me it is “ARM GBA Toolchain”) and you can select it.
So now we hit Build and…
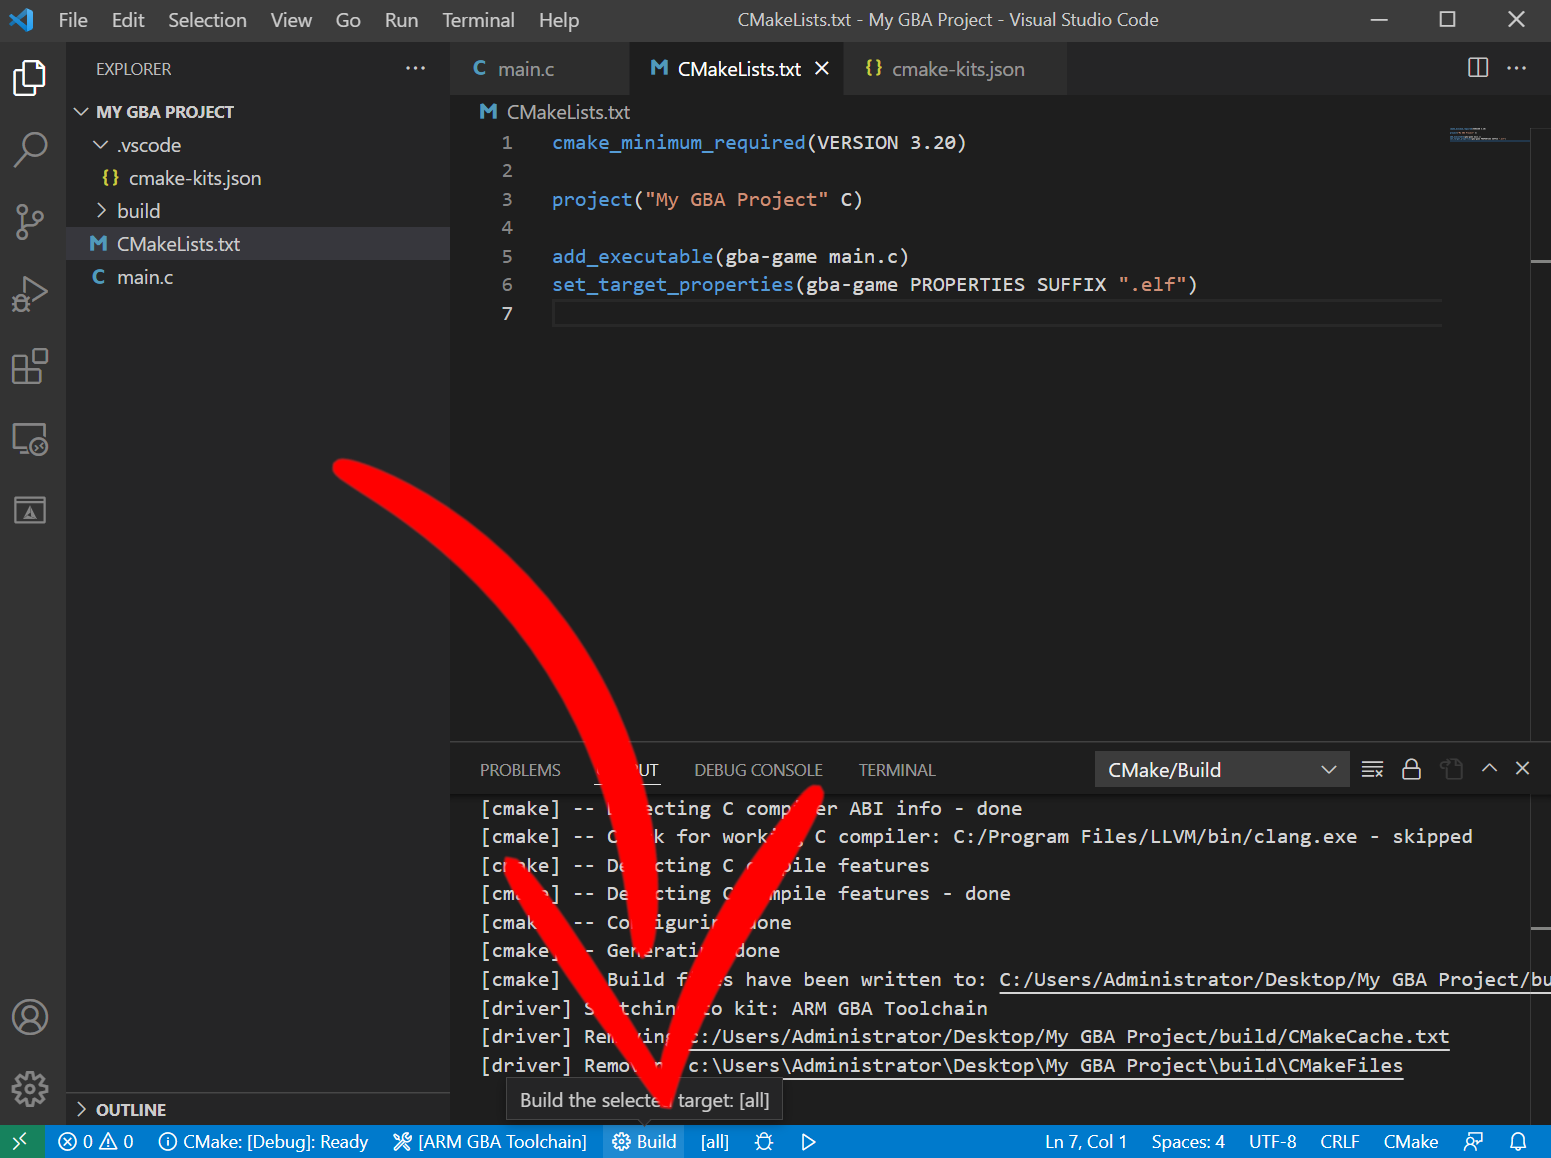
Oof!
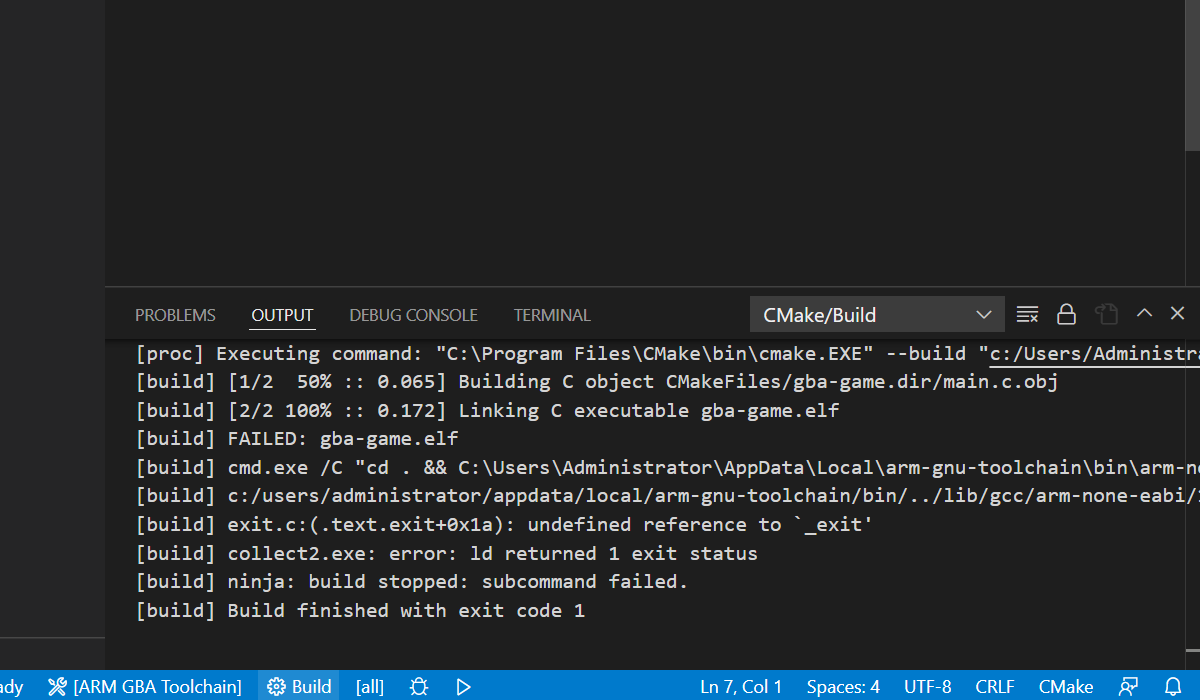
Linker error.
We’ve managed to compile the main.c file, but we’re missing a GBA implementation of the compiler runtime.
Well, now that we have our gba-toolchain kit we can do that.
Link a GBA runtime
gba-toolchain comes with runtimes for building ROMs, Multiboot images, and e-Reader binaries.
These runtimes are provided as libraries, and gba-toolchain provides a special CMake function for adding these libraries to a project: gba_add_library_subdirectory
The ROM runtime (librom) is available under the name “rom”. So let’s add that to our CMakeLists.txt file:
cmake_minimum_required(VERSION 3.20)

project("My GBA Project" C)

add_executable(gba-game main.c)
set_target_properties(gba-game PROPERTIES SUFFIX ".elf")

gba_add_library_subdirectory(rom)
And we link it with CMake’s target_link_libraries function:
cmake_minimum_required(VERSION 3.18)

project("My GBA Project" C)

add_executable(gba-game main.c)
set_target_properties(gba-game PROPERTIES SUFFIX ".elf")

gba_add_library_subdirectory(rom)

target_link_libraries(gba-game PRIVATE rom)
Now that we have a ROM runtime, let’s try building again and see what we get.
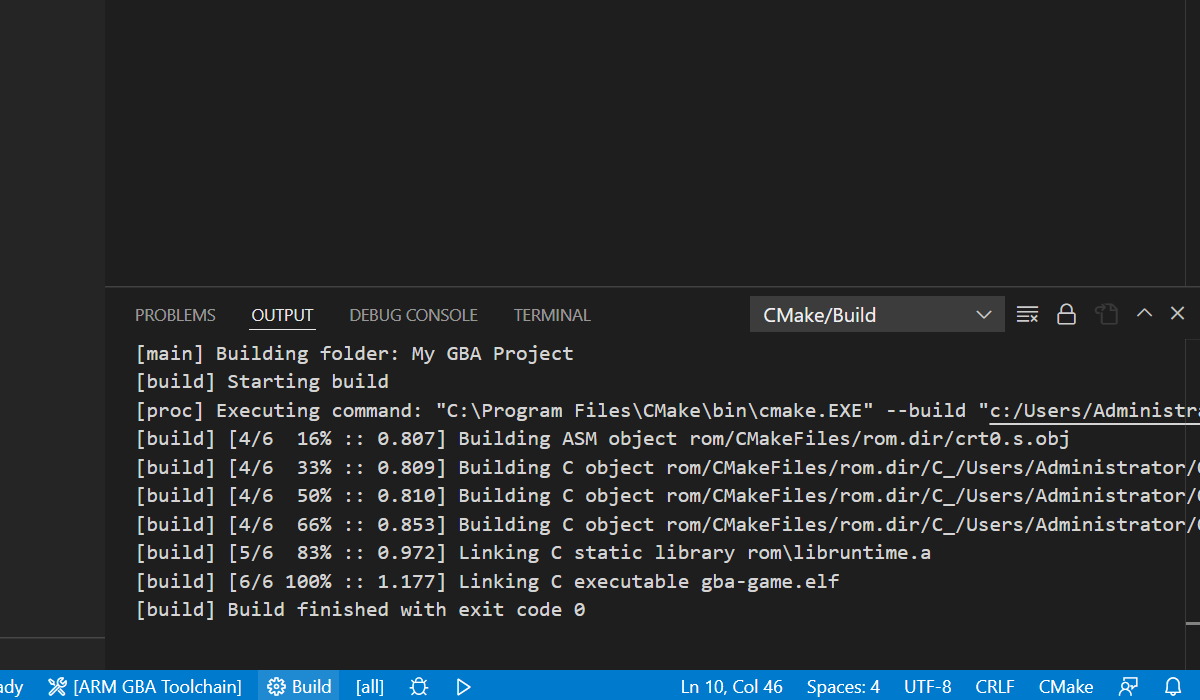
Exit code 0 means success, we’ve managed to link our ROM runtime and produced “gba-game.elf”.
The emulator mGBA actually supports loading ELF files as ROMs, so let’s use mGBA to run our ELF file in the build folder and see what we get.
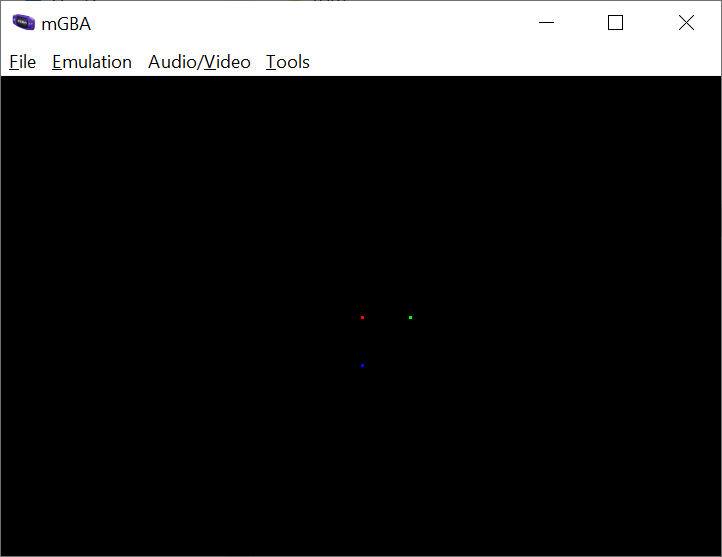
And that’s our first GBA demo.
1 The Tonc GBA tutorial is a legendary tutorial + development library that covers a lot of the GBA functionality.